Google Ads is an amazing tool to drive targeted leads and sales. You can get in front of your prospects right when they are searching for something they want to purchase, and target ads precisely to the search terms which are most relevant to your product and ideal customer profile (ICP).
But Google Ads also makes it easy to spend (and potentially waste) large amounts of your marketing budget very quickly, if things are not set up correctly.
For advertisers using Salesforce, you have the opportunity to track offline conversions, even those sales that happen long after the ad click.
Here are 2 ways to use Salesforce to improve your Google Ads ROI, as well as 3 other tips to eliminate wasted spend and get more out of your Google ad budget.
- Identify Keywords that Produce Leads but no Sales
- Connect Salesforce and Google Ads
- Move Some Budget to Bing
- Practice good Google Ads Hygiene
- Great Landing Pages
1. Identify Keywords that Produce Leads but no Sales
For most Google advertisers using Salesforce, the “low hanging fruit” in eliminating wasted ad spend is understanding the following:
- Which keywords produce lots of leads, but don’t convert to sales?
Often there are keywords that may seem relevant to your product or service, but actually attract people who are looking for something else. Or they are just not the keywords that serious buyers are going to be using. Some keywords might be more related to research or students studying a topic than prospects looking for a solution to buy.
This is especially true for B2B companies, where certain keywords may be used by consumers in a different context, or have an altogether different meaning.
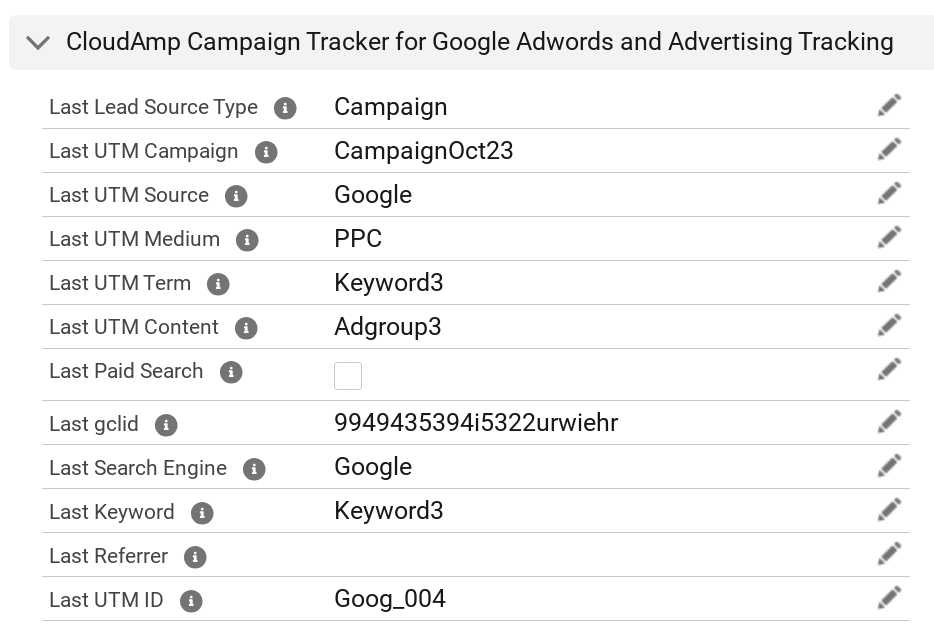
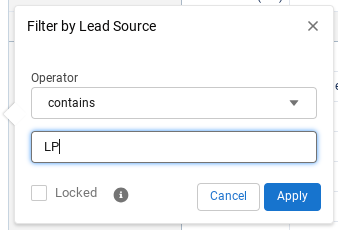
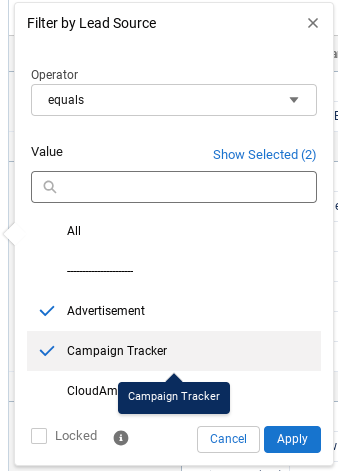
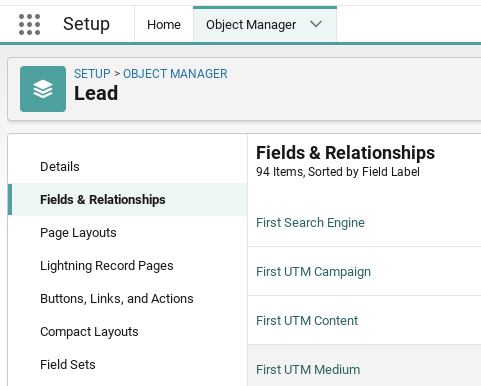
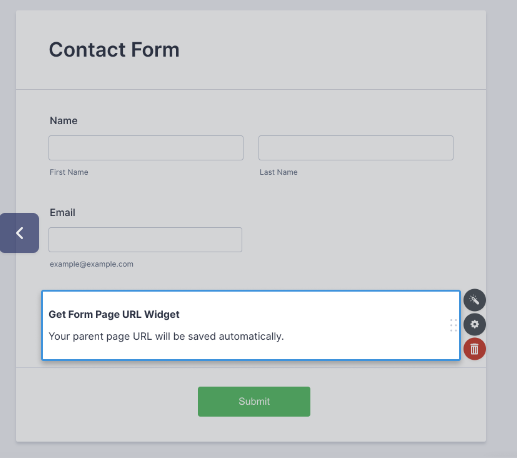
By capturing campaign and keyword information in your Salesforce leads, using a tool like CloudAmp’s Campaign Tracker or your own developers’ website form code, you can begin to analyze which keywords produce leads that convert to opportunities, and which don’t.
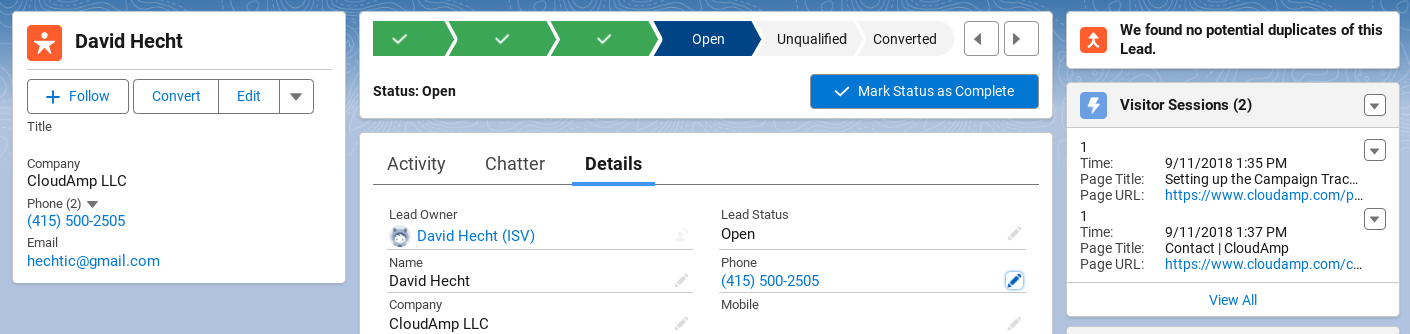
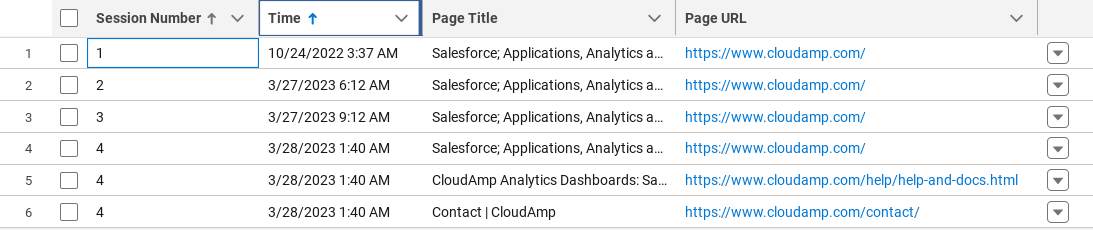
By being able to track offline conversions in Salesforce, you can attribute sales back to specific keywords and ads. This will enable you to understand campaign ROI, as well as be able to see buyer intent more quickly via the data contained in your new Salesforce leads (e.g. what a lead searched for, and what web pages they viewed).
Once you have enough data in Salesforce, and time has elapsed for your typical sales cycle to run through a few times, take the following actions:
- Analyze your Salesforce leads from Google Ads by keyword
- Which keywords produced leads that converted to opportunities?
- Are there keywords that produced leads that did not convert?
- Pause or change bids on low conversion keywords
- Reallocate budget from low conversion to high conversion keywords

2. Connect Salesforce and Google Ads
You can also pass Salesforce data back to Google Ads as Conversion Goals, to be used in certain types of campaign optimization.
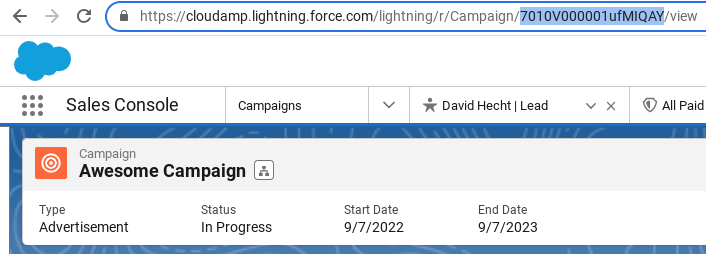
In order to pass data back to Google Ads from Salesforce, you’ll need to be capturing the Google Click ID (Gclid) value into your Salesforce leads. You can do that with the CloudAmp’s Campaign Tracker or your own developers’ website form code. The Gclid value is a parameter that Google automatically adds to every ad click URL.
Once you have that Gclid in your Salesforce leads, you can use Google’s data import tool to bring lead conversions, as well as Opportunities at any stage (including Closed Won / Closed Lost) back into Google as Conversion Goals.
Conversion Goals such as converted leads, or even closed won deals, are far stronger indicators of success than the typical metrics Google uses for optimization (click through rates (CTR), Impressions, Form Submits, etc.)
Google imports the data from Salesforce on a daily basis, so it will know the exact campaign, keyword, ad creative and click that resulted in your original Salesforce lead, since that is tied to the unique Gclid value.
For more information about connecting Salesforce and Google Ads, see our complete guide on How to Connect Salesforce and Google Ads

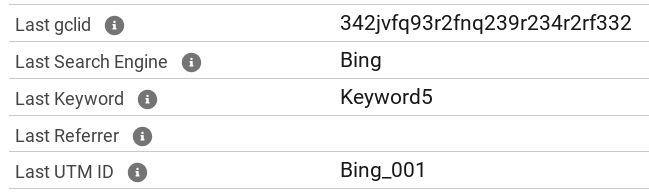
3. Move Some Budget to Bing
Switching gears to non-Salesforce tips, another way to be more efficient outside of tracking your results in Salesforce is to spread some search budget to another search engine.
While Microsoft’s Bing search engine only has 4% global market share compared to Google’s 90% (November 2024 stats), that percentage increases to 11.5% for desktop computers, and 15% of desktop computers in the United States (Bing’s mobile usage is almost nonexistent).
That means for B2B advertisers targeting certain industries, or B2C advertisers targeting prospects who are more likely to search on Desktop computers, Bing can be very efficient.
- Lower cost per click than Google
- Import Google Campaigns and keywords automatically for quick setup
- 15% of US desktop computer traffic
- Microsoft Ads run on Bing, AOL, Yahoo, and partner sites like MSN.com
Exactly how much lower cost Bing is than Google will depend on your keywords, though estimates range from 30 – 70%. The point is that fewer advertisers means less competition for clicks, as CPC bids are an auction among advertisers. A lot of advertisers ignore Microsoft Ads / Bing, when they should at least do a test.
Check your web analytics tool, such as Google Analytics, to understand what percentage of your current website traffic is desktop vs. mobile.
If the majority of your traffic is from desktops, then Bing is certainly worth a slice of your budget to test. And if you can drive leads at a lower cost per lead, that increases your overall search advertising efficiency.

4. Practice good Google Ads Hygiene
We’d be remiss if we didn’t remind you of some of the best ways to make sure your ads are not getting wasted clicks on the Google Ads side. While you will find more extensive guides to practicing good Google Ads hygiene elsewhere on the web, our top recommendations include the following:
1. Separate Campaigns for SeparateTactics.
If you are going to run on Google’s Display network, be sure to set up separate campaigns for display ads. That way you can compare performance of Search Campaigns running only on the Google Search Network, and Display Campaigns running only on the Google Display Network, without the targeting being mixed in a single campaign. Enabling both in a single campaign makes analysis more difficult.
The same goes for ad formats — while you can run multiple kinds of ads from the same Campaign for certain ad types, it is generally better to separate things into different Campaigns to more easily evaluate performance.
Finally, advertisers who are new to Google Ads should probably start with Search Campaigns, only on Google’s Search Network, with carefully selected phrase or exact match keywords. Even though Demand Gen, Performance Max or Smart campaigns sound great, they are less targeted and can burn through a lot of your budget, so you can experiment with them after the basics of Google Ads are working well for you.
2. Utilize Negative Keywords.
Negative keywords are a powerful tool to prevent irrelevant queries from triggering your ads. You should regularly review your search terms report by clicking on:
>> Campaigns , Insights and reports, and then Search terms.
By understanding the specific terms people used in Google Search that caused your ads to show, you can find search terms where you would not want your ads to appear, and add them as negative keywords to that Campaign or at the Account level.
In addition to being a critical strategy for eliminating waste in your Google Ads, reviewing search terms can give you ideas for content marketing on your website, plus it is generally pretty interesting to see what your buyers are actually searching for!
3. Review Keyword Match Types
Some of the complexity of Google Ads are the different match types—broad, phrase, or exact—that control how closely search queries must align with your keywords. Be careful in your use of match types, as errors can lead to your ads appearing for irrelevant searches, wasting your budget.
Broad match types, Google’s default, can be particularly problematic for casting a wider net than some advertisers may want (depending on your product and target market). Broad shows your ads to users searching for “related” topics, while phrase match has to have the keywords somewhere, and exact match specifies the order of the keywords.
Our recommendation is to start with phrase and exact match only, then expand to trying broad match as you want to broaden your audience.
4. Refine Location Targeting
Unless you are selling your products or services globally, you should only be showing your ads in geographic areas that are relevant to your business. Misconfigured location settings can result in clicks from regions you don’t serve, leading to unnecessary costs.
5. Implement Ad Scheduling
Analyze when your target audience is most active and schedule your ads to run during these peak times. This approach can prevent you from spending on clicks during off-hours that have lower conversion rates.
5. Great Landing Pages
Finally, once you have your Google Ads organized and are limiting match types and keywords to the most relevant to your business, don’t throw away all your hard work by sending visitors to a standard contact us page (or worse, your home page).
People tend to have very short attention spans, especially on the Internet when they are confronted with unlimited choice and sometimes confusing or misleading results. Make sure they land on a page on your website that clearly tells them they have arrived at the correct place.
A good advertising landing page specification could fill multiple blog posts, but the best ones have some common characteristics:
- Headline that echoes what the visitor searched for
- Let the visitor know they’ve arrived at the right website
- Strong, benefits-oriented copy
- Overcome objections or reasons to click away
- Testimonials, awards and other social proof
- Clear call to action (next step the visitor should take)
In conclusion, while it is easy to waste money using Google Ads, you should not let that discourage you from taking advantage of its incredible reach and market dominance to drive more leads to your business.
By capturing keyword and campaign data into Salesforce, sending it back to Google for optimization, and carefully applying the account management strategies described above, you can improve the performance of your Google Ads campaigns and ensure your budget is utilized effectively.
Learn more about CloudAmp
Not yet a CloudAmp customer? If you want to have more data about your Leads in Salesforce, including source attribution, keyword, and page view data to prove ROI and improve your marketing, contact us for more information today.
CloudAmp also provides hands-on Google Ads and Salesforce integration assistance, included with some app subscriptions. We are always happy to answer questions free of charge, so don’t hesitate to reach out.